Reindeer Hat
By Rob Balchunas
Hi everybody! It’s been just over a year since my last column, but I couldn’t go through 2006 without writing at least one column. So here it is! Ya happy, Jimmy?
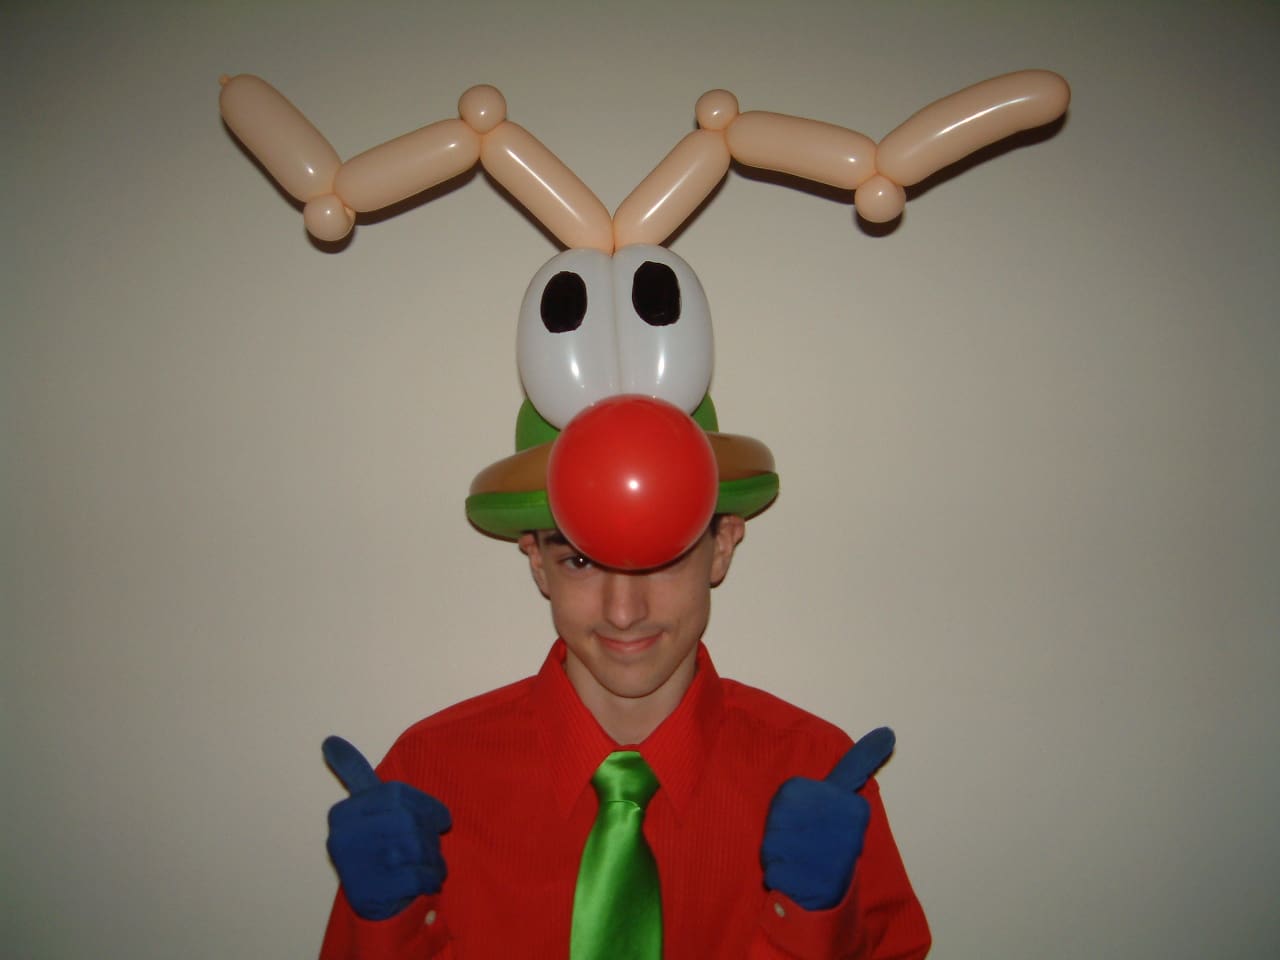
For this holiday season, I decided to upgrade the reindeer hat that I’ve been making for many years. It’s a Rudolph hat to be specific. It uses 2 260s, a 350, and a 5″ round.
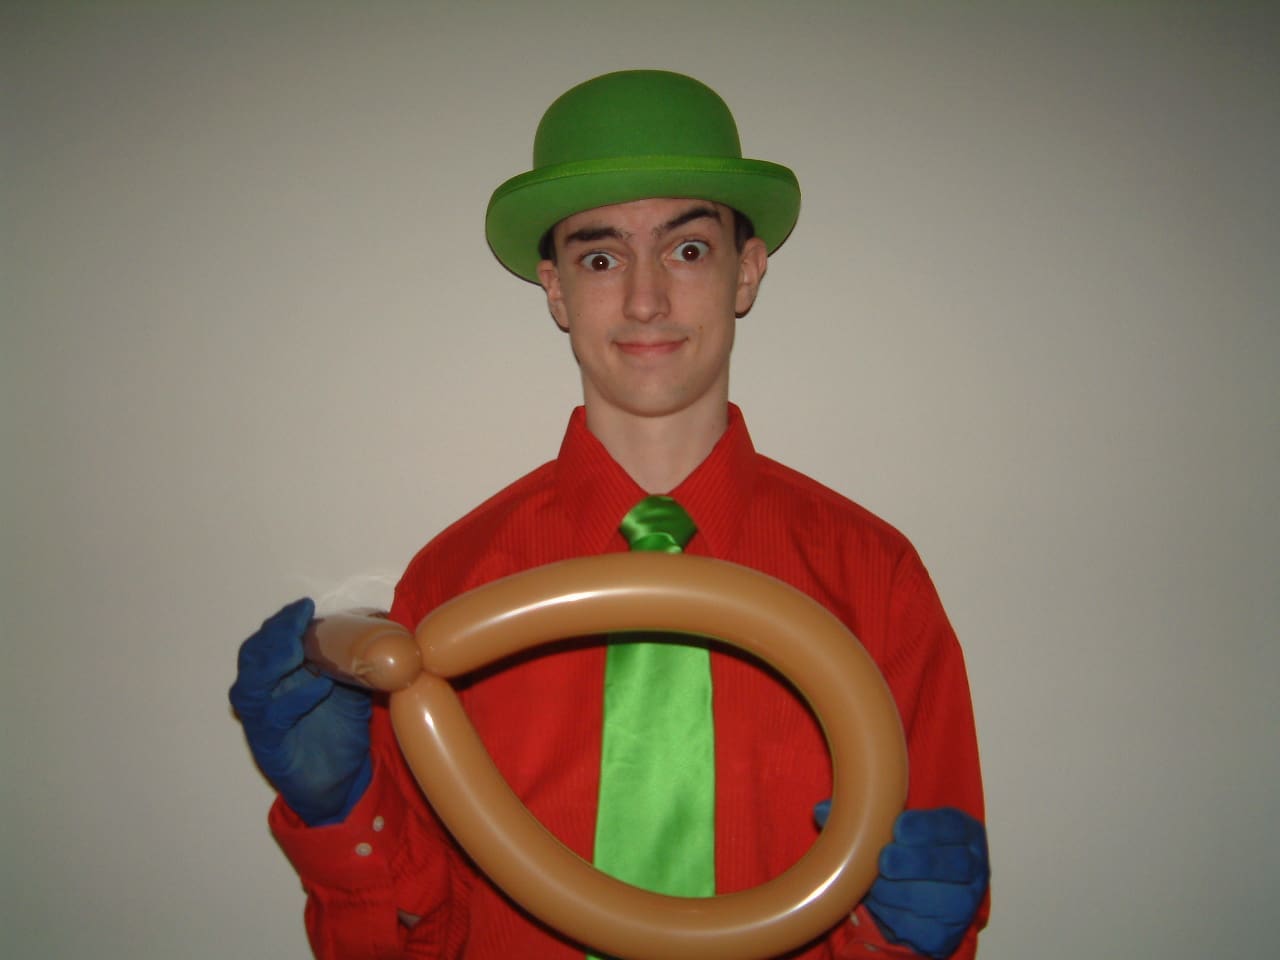 |
Inflate a brown 260 fully, leaving it soft, as you’ll need to get a couple twists into it. Make a 1″ bubble, wrap the balloon around the person’s head to find the size, make a twist where the 1″ bubble meets, and lock both twists together to make a loop. Twist a 1″ bubble on the end of the balloon to connect it to the loop. | 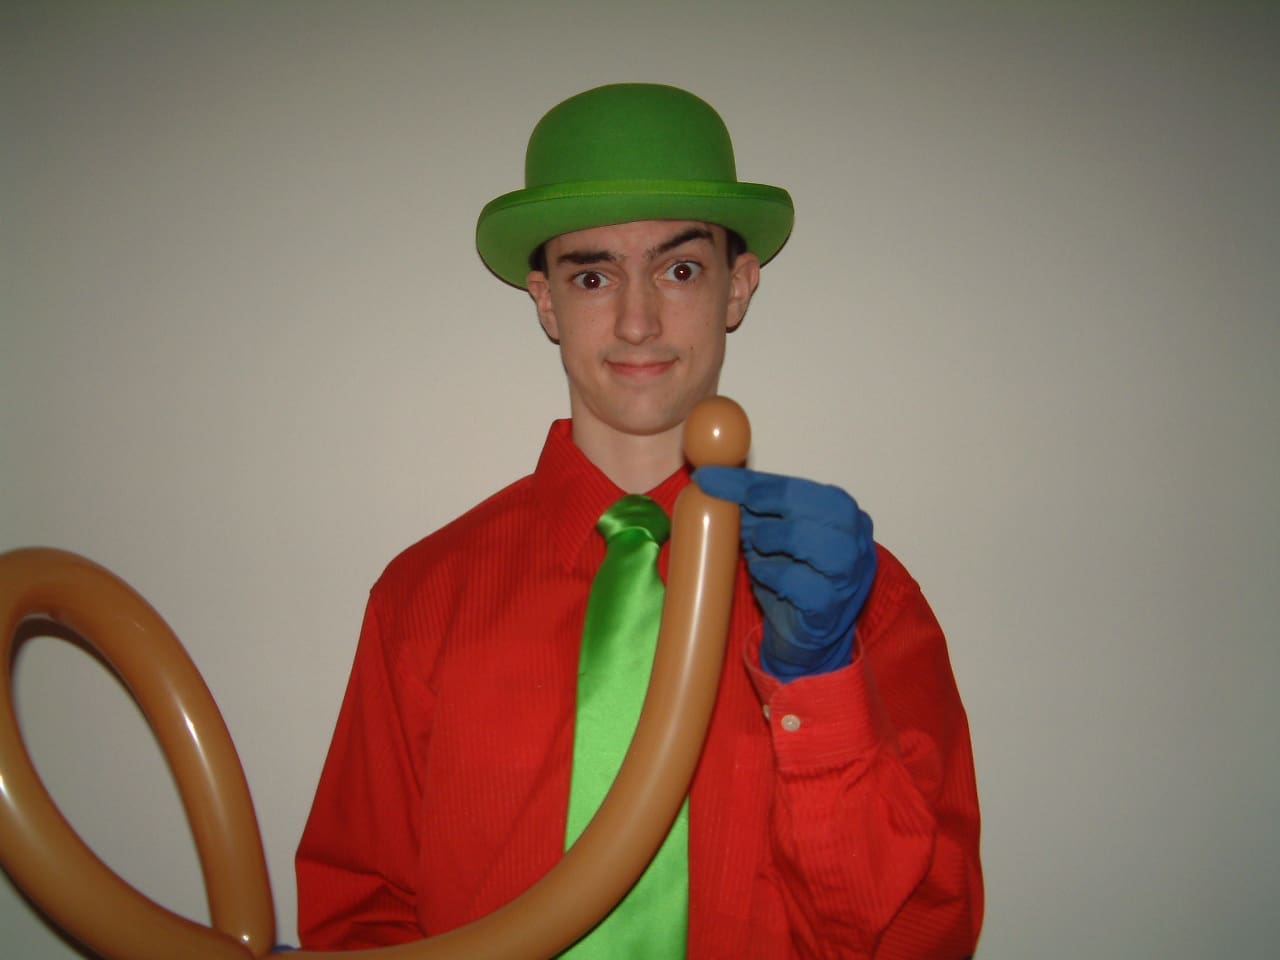 |
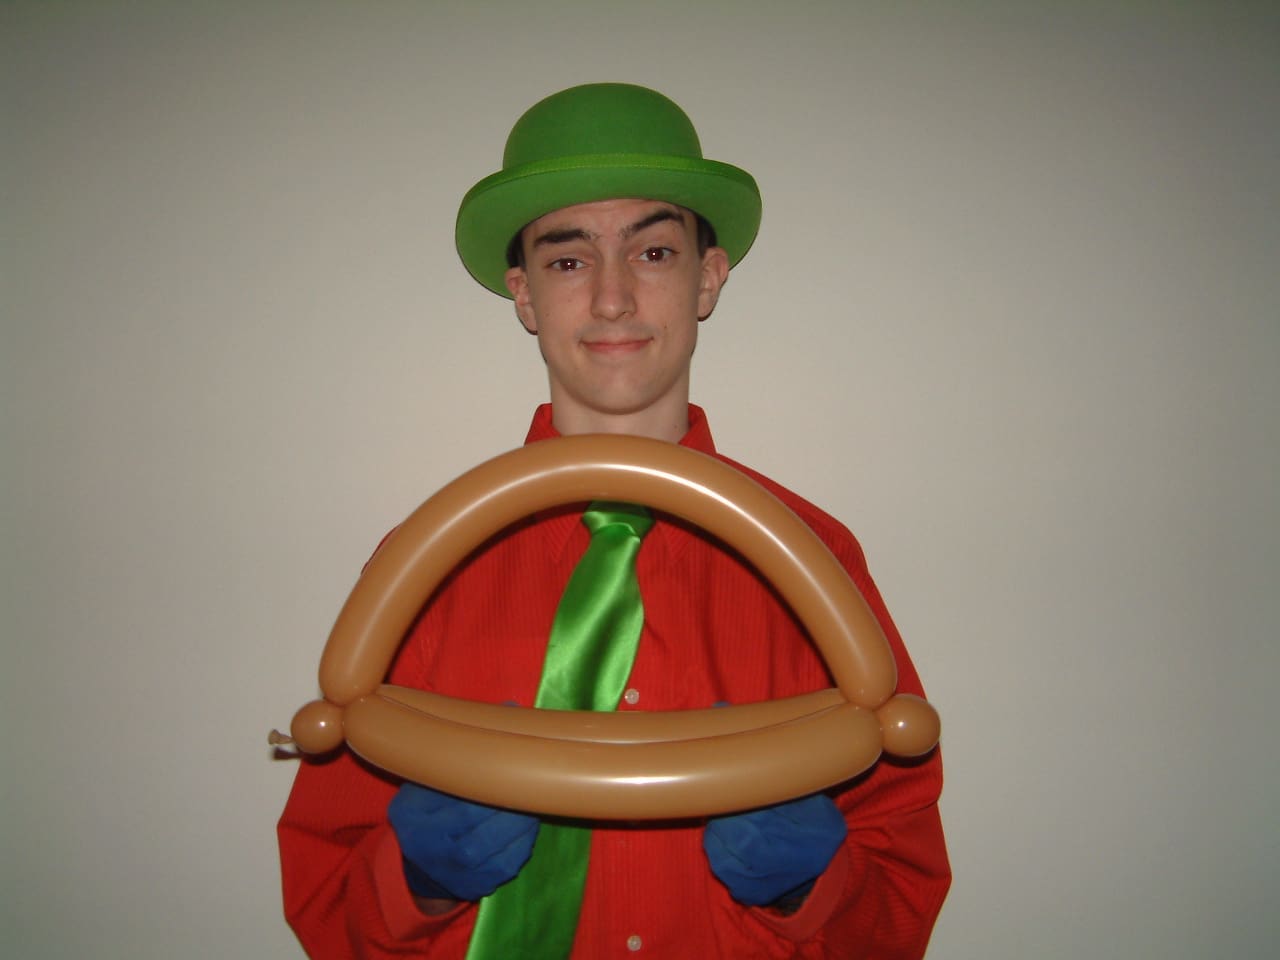 |
Lock the 1″ bubble on the end of the balloon to the center of the loop, forming an arch on the top of the hat. In case you haven’t figured it out yet, this is the basic helmet. On the arch near the first 1″ bubble you made (the one with the nozzle,) twist a 5″ bubble. This will connect to the eyes and antlers. | 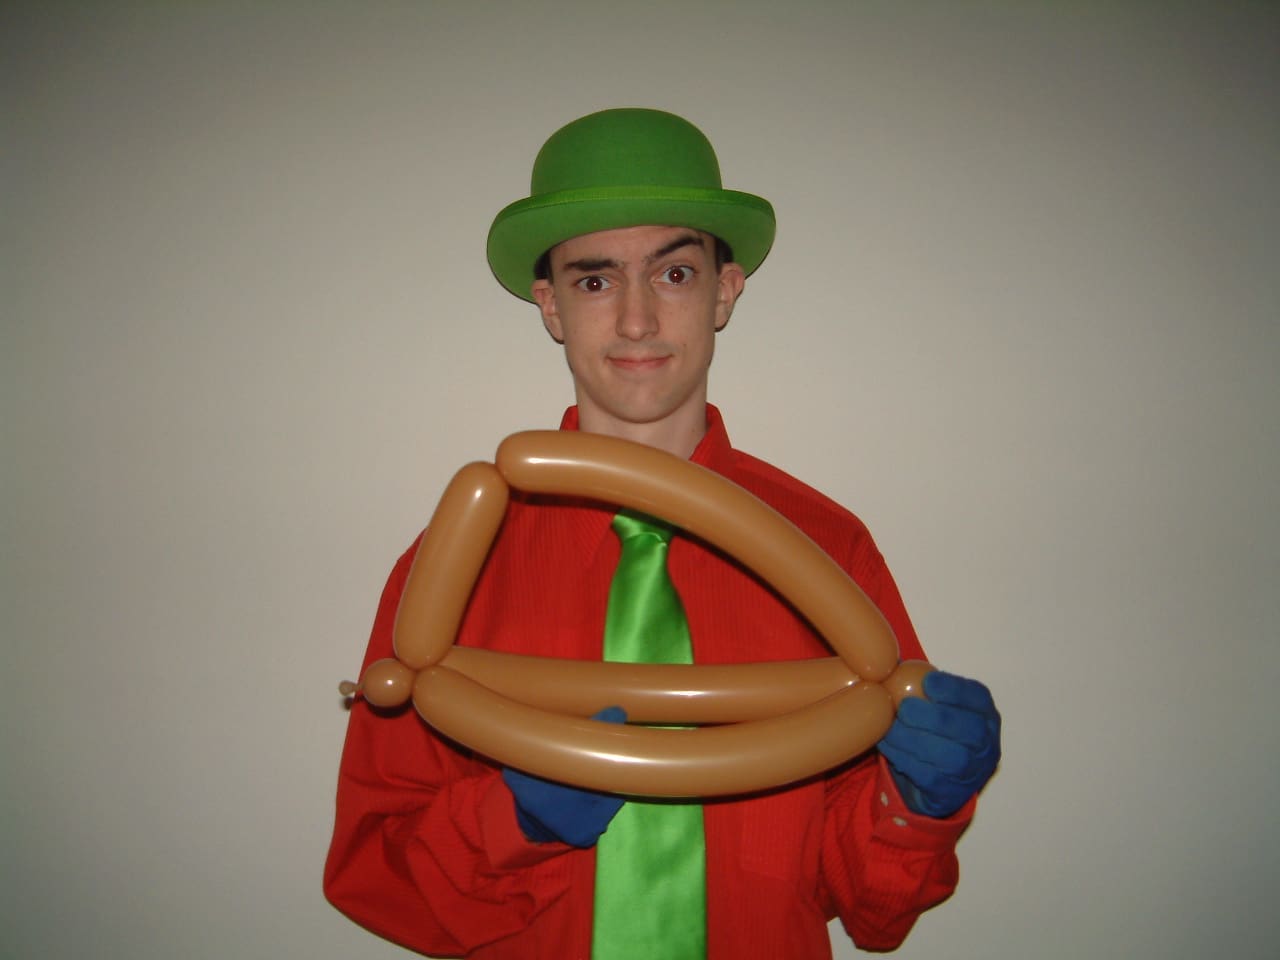 |
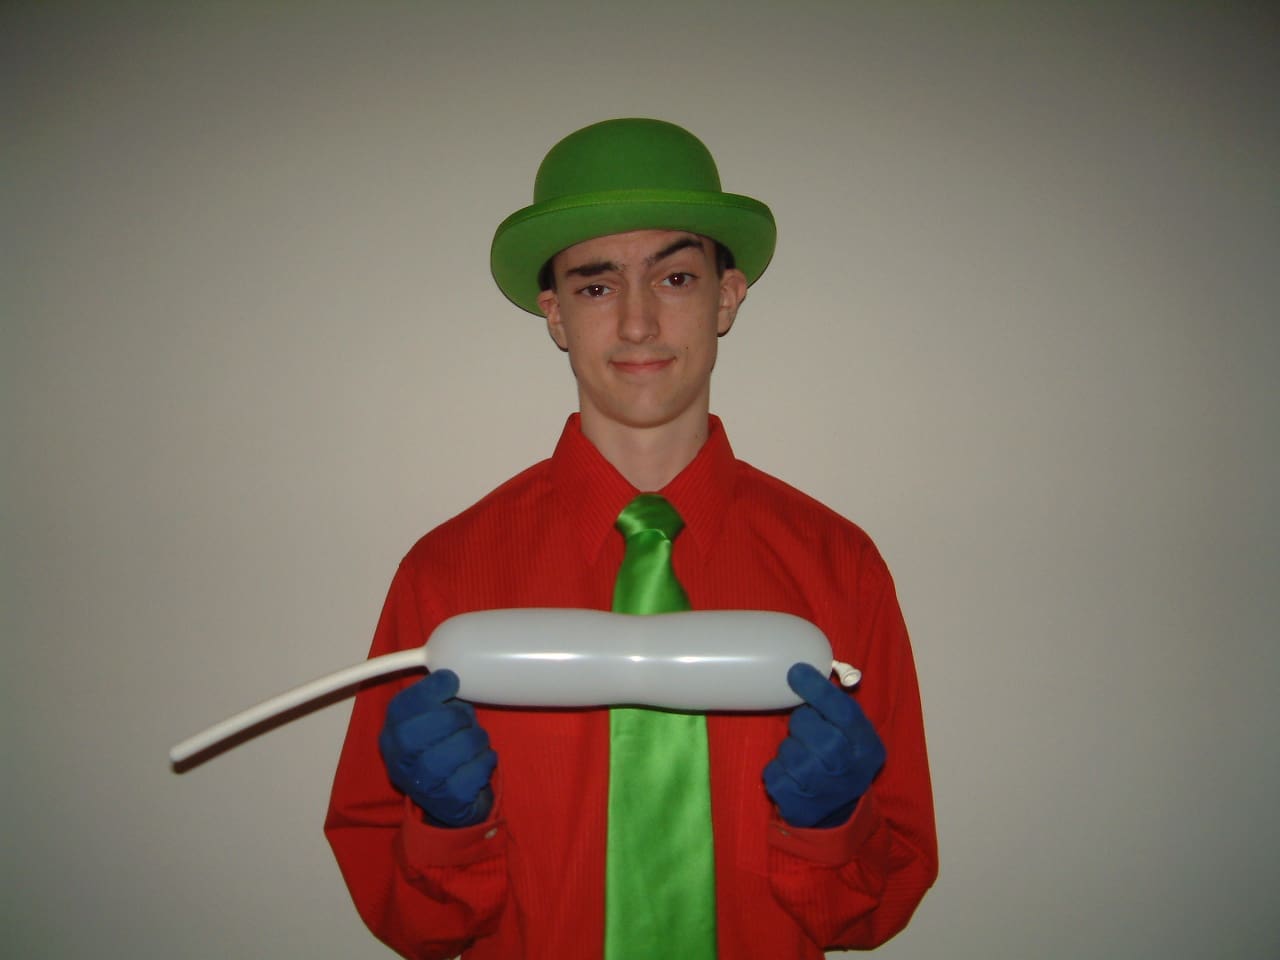 |
Inflate a white 350 about 10 inches. You could use a 260, but I like to have larger eyes. Twist this bubble in half and tie the ends together to creat two eyes. Cut off any excess balloon. |  |
 |
Place the eyes on the inside of the helmet, next to the 5″ bubble on the arch of the helmet, and push them forward, around the 5″ bubble, just as you would do to make a 3-bubble roll through. This locks the eyes onto the hat. | 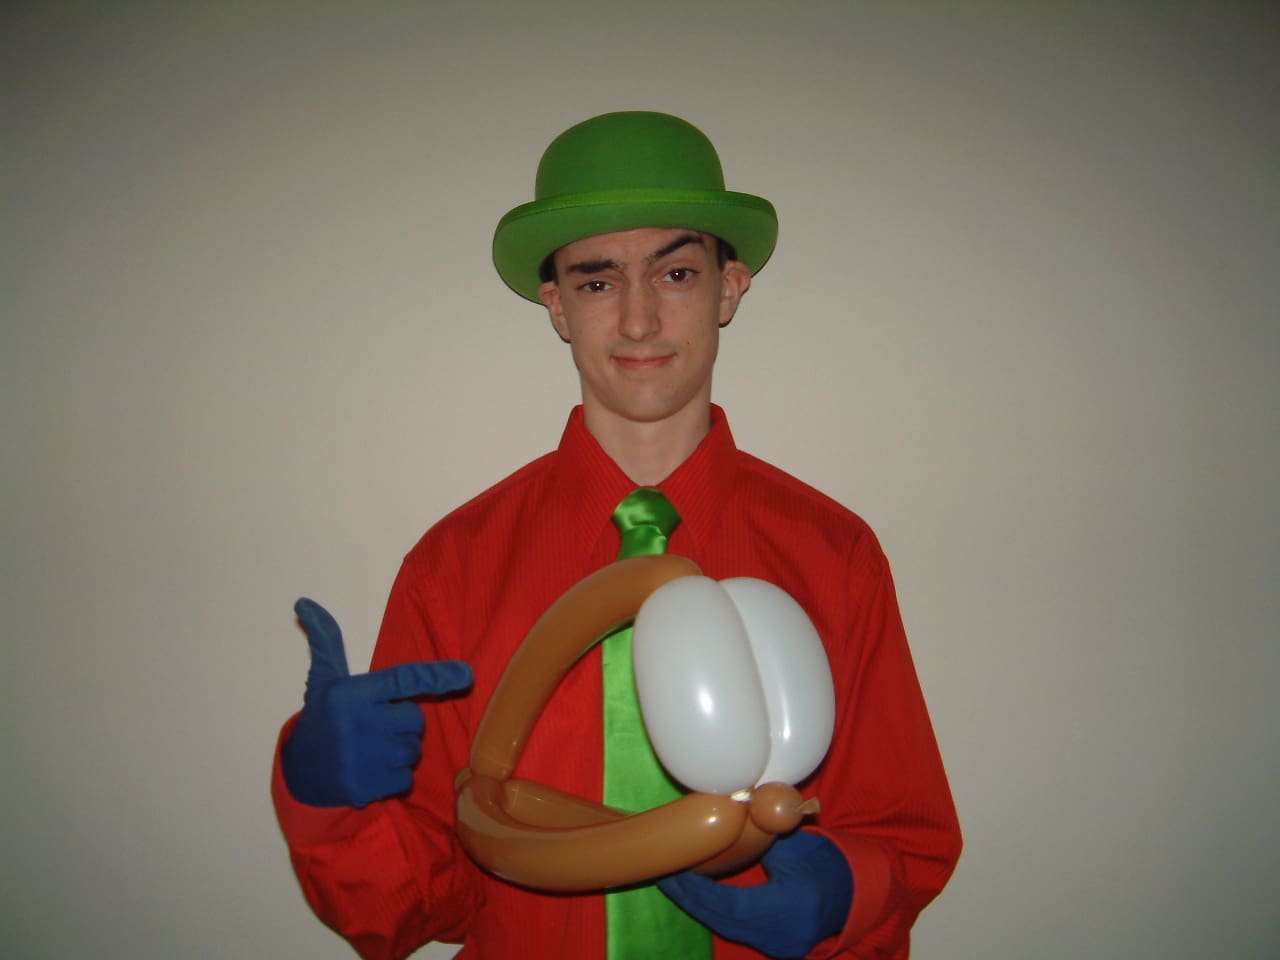 |
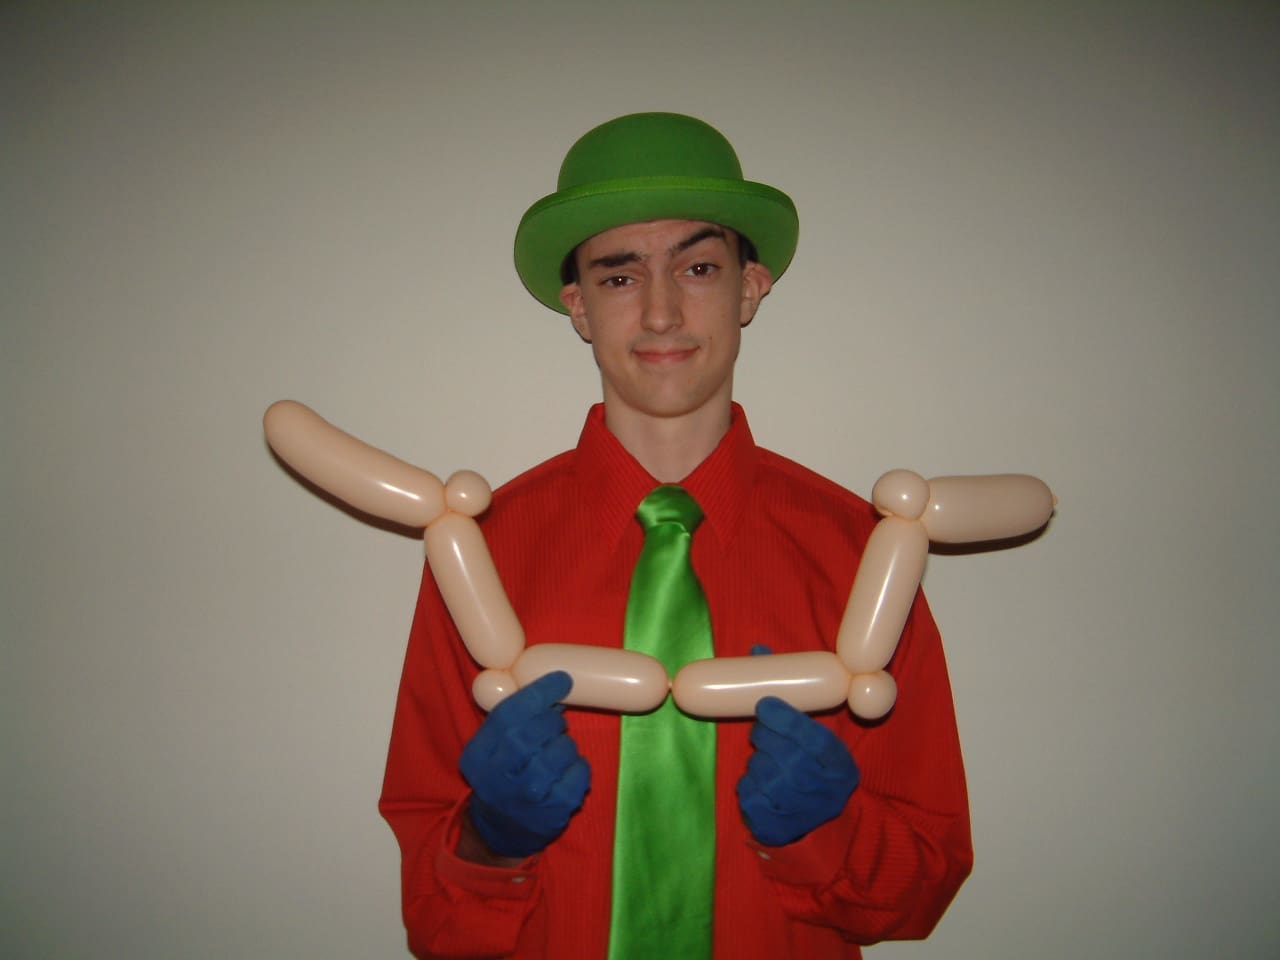 |
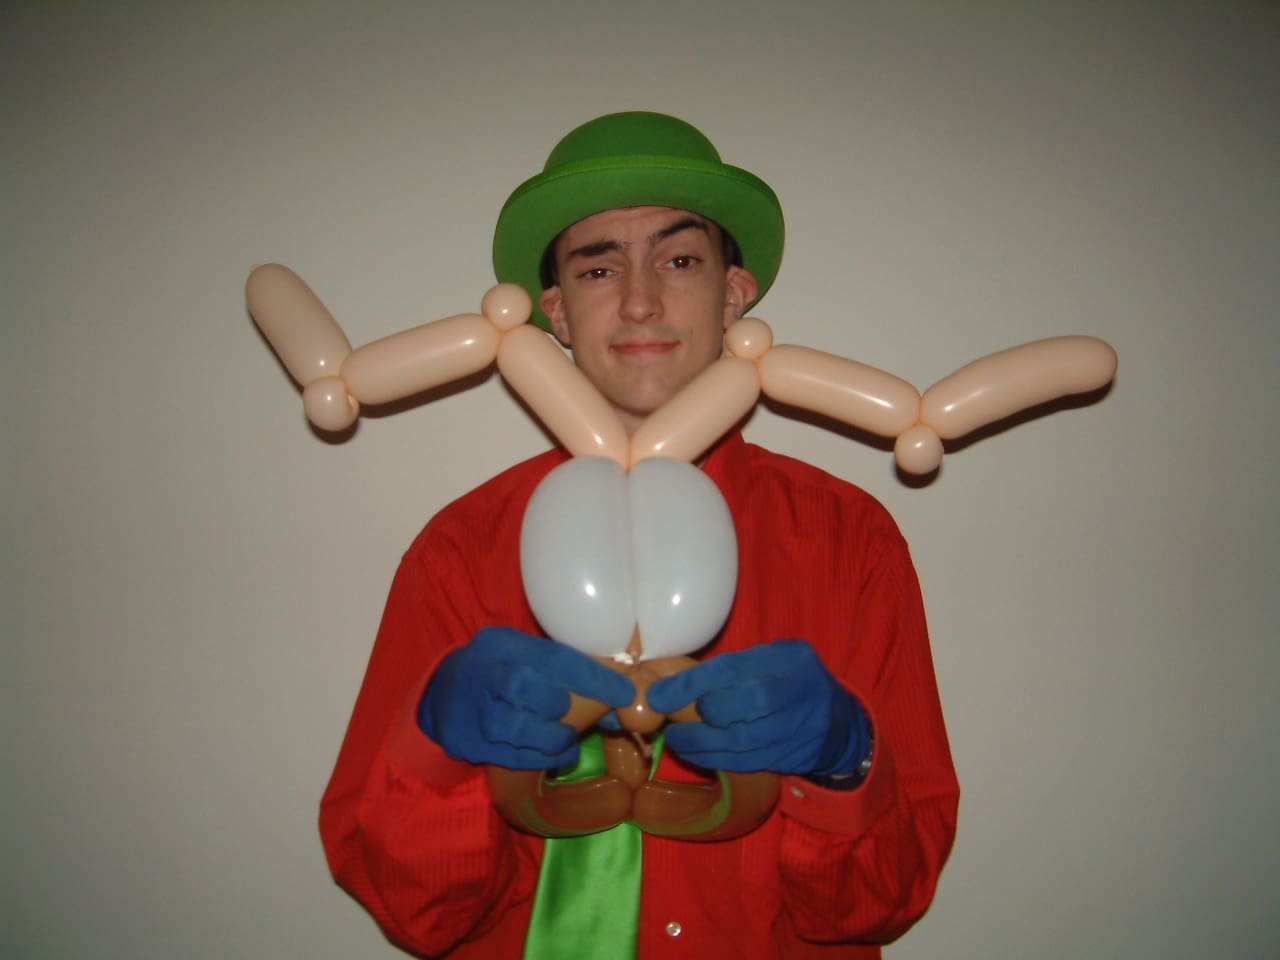
Inflate a blush 260 leaving about 3 or 4 inches tail. Make a 5″ bubble, and 1″ pinch twist, a 5″ bubble, a 1″ pinch twist, 2 5″ bubbles, a 1″ pinch twist, a 5″ bubble, and a 1″ pinch twist, which should leave you with another 5″ bubble. These are the antlers. Attach them to the top of the that at the connection point on top of the eyes. Position as shown. | 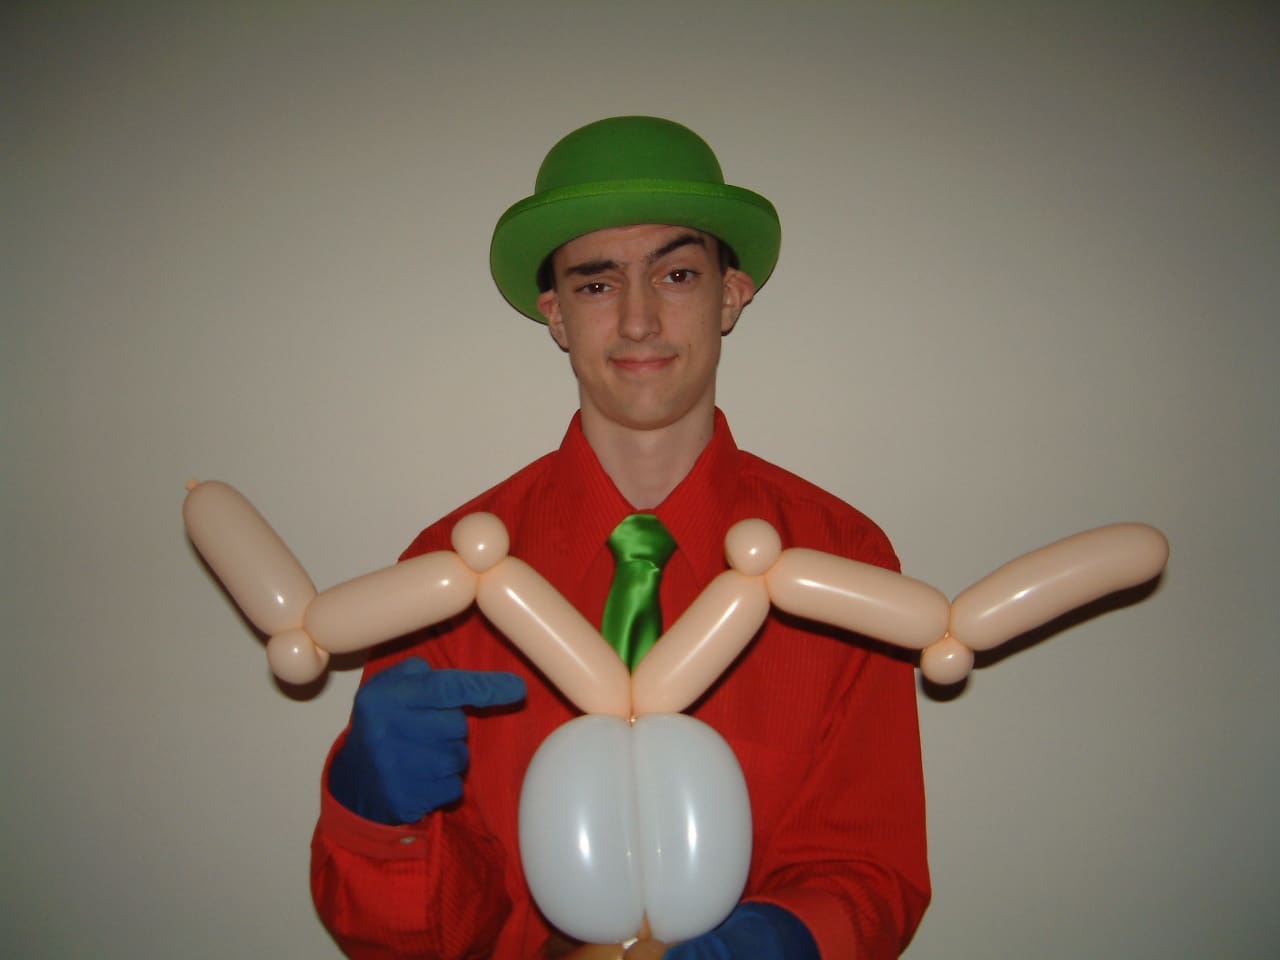 |
 |
Tuck the 1″ bubble at the base of the eyes into the hat. Inflate a red 5″ round and tie it into this point. Draw on eyes, and your Rudolph hat is ready to be worn. | 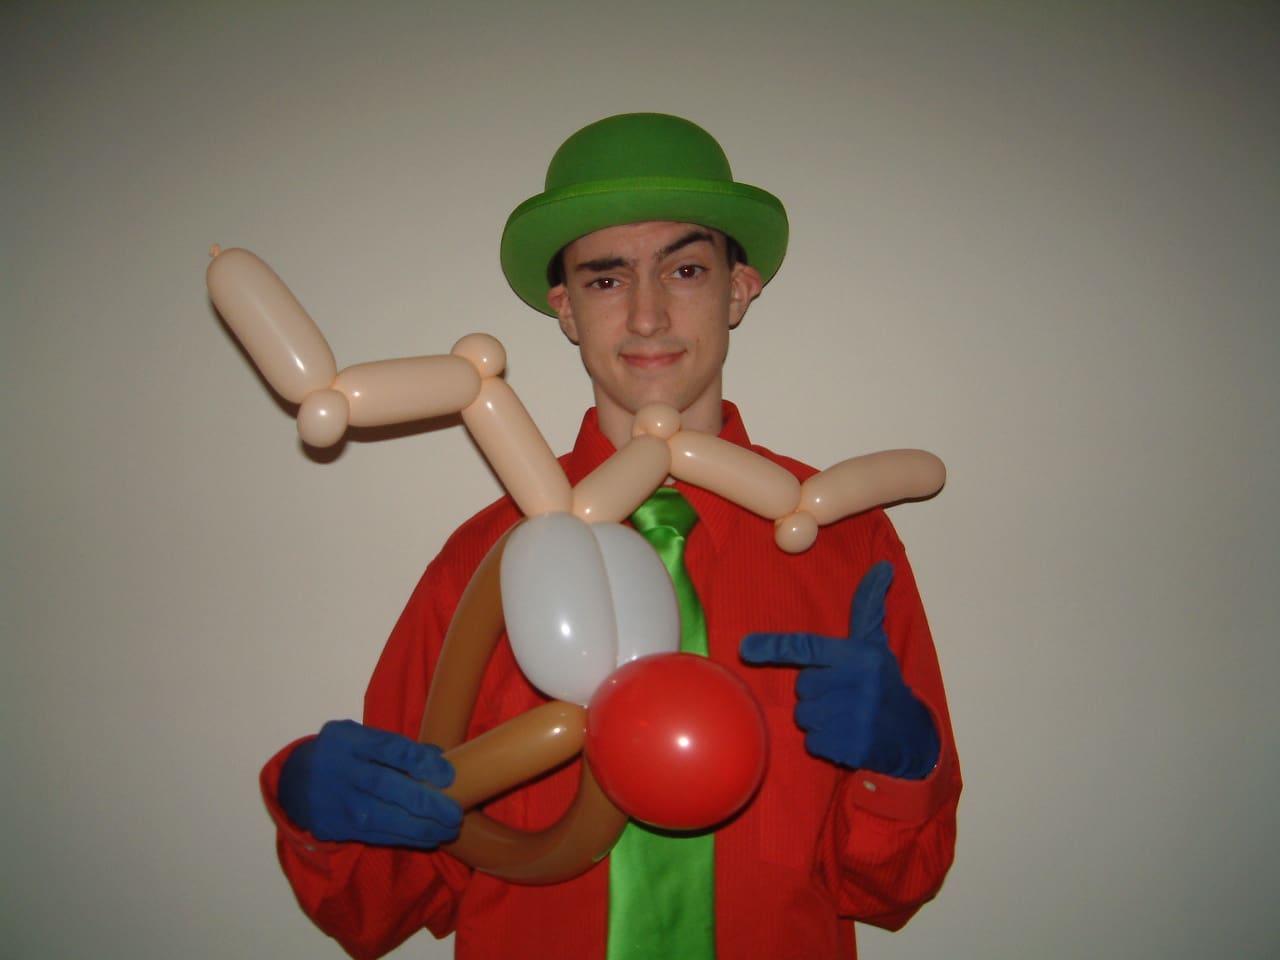 |
Happy Holidays!
Rob Balchunas
[email protected]