Working with Foil Balloons
Luc Bertrand, CBA
Hi everyone,
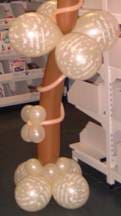
 Remember last month’s article on 646q arches? Well, Qualatex recently launched new colours. This month I’ll discuss the detail of an arch we designed last week in a seminar. The students used the new mocha brown 646q with blush 260q and pearl ivory round balloons; I personally did like it a lot.
But, here I am with this month’s new article. This time I will show you a trick how to connect foil balloons. This can be used in many ways and with many kinds of shapes.
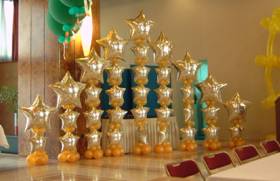
Foil Balloon Backdrop
This is a backdrop designed in a seminar in Greece
Try it out and it will prove to be a very rewarding and fast way to make decor or gifts.
The only things we need are one or more small pearls or plastic beads able to be slid into the valve, a balloon straw and bits of uninflated 160q or 260q.
| 1. Use a hand air inflator and put a puff of air in the balloon. Don’t inflate by mouth as this will put humidity in the foil balloon, making it harder to work afterwards. | |
| 2. Insert as many beads into the neck of the foil balloon as you will need for the construction. i.e. one per connection point. Push them gently into the neck, past the balloon valve, using a balloon straw. | 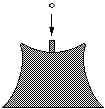 |
| 3. Now position the beads at the desired position (=connection point) and tie an uninflated 160q or 260q firmly around that point on the microfoil balloon with the bead inside. | 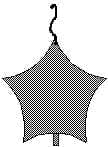 |
| 4. Repeat these steps with as many balloons as needed. | |
| 5. Now fully inflate the balloons with air (hanging or swags) or with helium (see picture of the suns realised in Korea or the stars-backdrop in Greece). | 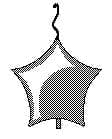 |
| 6. For a column first make a base and attach the first balloon to it. | 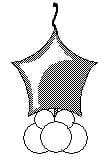 |
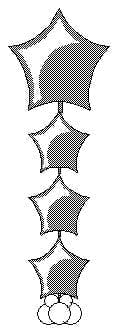 |
7. Attach more balloons up to the desired length. Attach a bigger balloon such as a 36. foil for the lift.
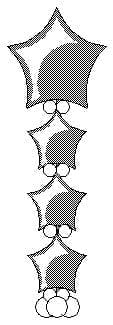
8. And finally put 4 balloon-clusters in between the foil balloons to position them right. This is an example with star shaped balloons. Don’t hesitate to use other shapes. |
 |
| This is a picture of a class were I demonstrated the same technique applied on the upper part of a heart shaped balloon. (Sandefjord Norway) | 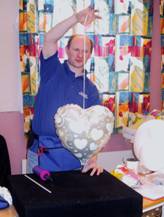 |
For more pictures take a look at “Balloon Images” issued April 2004 pages 14-15 and pages 22-24 with 3-D banners created by Linda Bruce with this technique.
Or see these examples I made with different balloons…
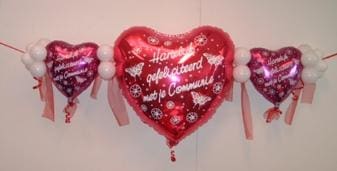 |
| Air filled – designed in a seminar in Belgium. |
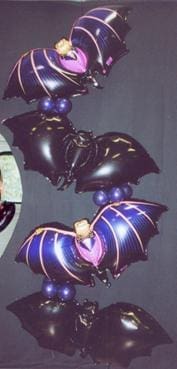  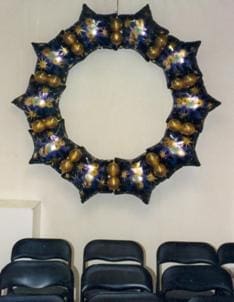 |
| The bats are air filled – designed in a seminar in Belgium. The suns are helium filled – designed in a seminar in Korea. The stars are air filled and have the 4-balloon cluster in between the balloons – designed in a seminar in Belgium. |
That’s it for now. Hope you enjoyed the ideas and hope you will be using them.
I sure would appreciate to know what you do with these techniques, so let me know.
Also feel free to let me know what kind of ideas you are looking for.
You never know, I might have some new techniques for you in a next column.
Luc Bertrand cba
[email protected]