
Snowmobile
Tonya McNeill
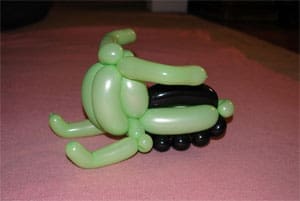
Snowmobiling is one of the most popular activities here in Colorado. I have been asked numerous times for snowmobiles this winter, so I wanted to share one that I make at my restaurants. It’s more like an older style snowmobile, very basic, but everyone seems to like it.
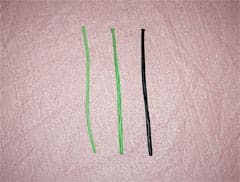
Supplies needed: One black 260, One green 260, One green 160
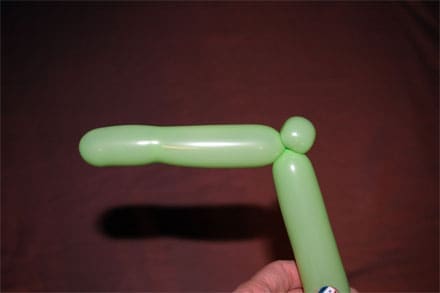
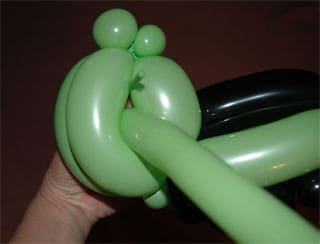
Inflate the green 260 leaving about a 4-5 inch tail. Make a 1 inch pinch twist followed by two 3 1/2 in bubbles. Lock the second bubble into the pinch twist.
Make a 5 inch bubble, and a 1 inch pinch twist. Roll the pinch twist between the two 3 1/2 inch bubbles to lock into place.
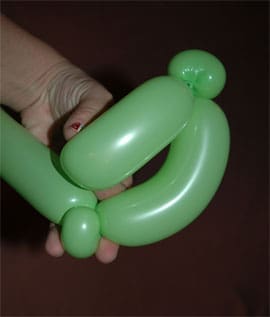
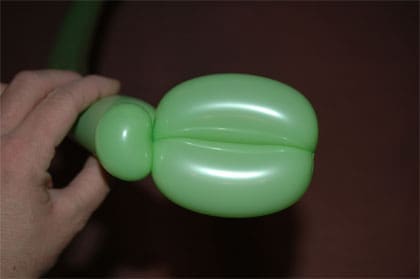
Make a 5 1/2 inch bubble followed by a 1 inch pinch twist and another 5 1/2 inch bubble. Lock the second bubble into the front pinch twist.
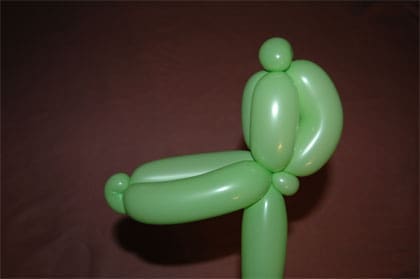
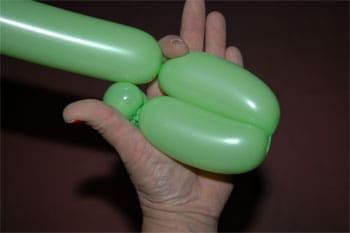
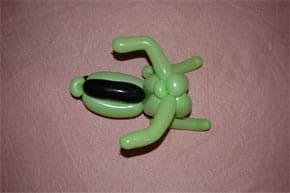
Make another 5 inch bubble and 1/2 inch pinch twist. Bring up and twist around top pinch twist making a four bubble cluster. It should look like this (side, front and rear views).
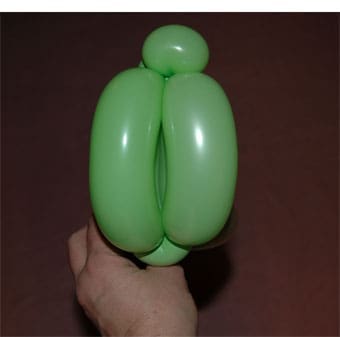
Inflate the black 260 leaving about a 7-8 inch tail. Tie onto the rear pinch twist. Make five 1 inch bubbles and twist into the front pinch twist.

Make five more 1 inch bubbles and attach to the rear pinch twist. For the seat, bring the black 260 up and make a bubble to fit between the two 5 1/2 inch bubbles. Twist into the front pinch twist. Deflate and cut off remaining black balloon.
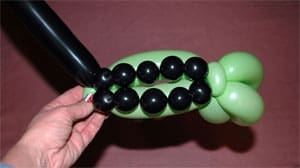
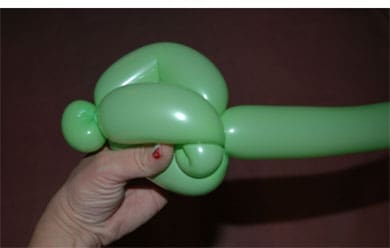
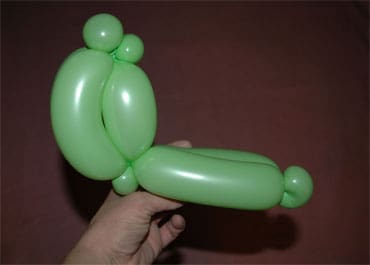
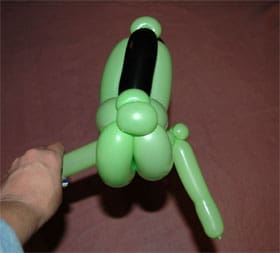
Inflate the green 160 about halfway. Make a 5 inch bubble followed by a 1 inch pinch twist. Thread the 160 through the middle of the four bubble cluster.
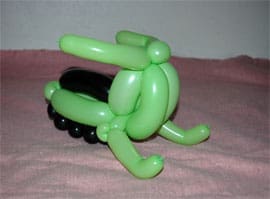
Leave approximately 1-1 1/2 inches hanging out the side. Leave the same amount out on the other side then make another 1 inch pinch twist and 5 inch bubble. Gently push the 160 down towards the bottom so the skis are even with the small black bubbles. (see second picture).
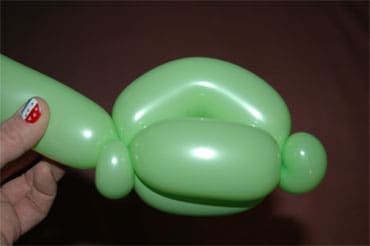
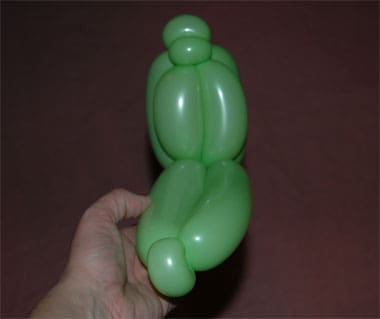
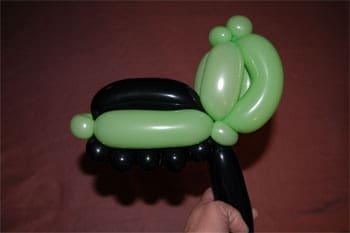
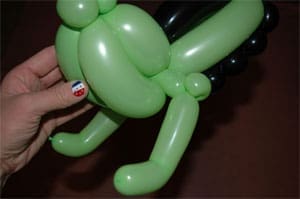
Tie off and remove remaining 160 balloon, but save remaining to use for the handlebars. Slightly curl up to look like skis in the front. It should look something like this. (front and side views).
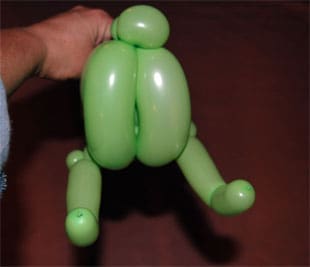

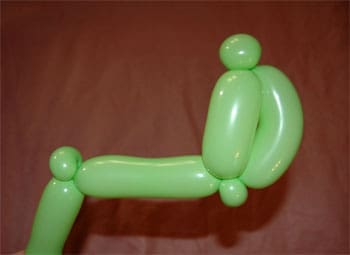
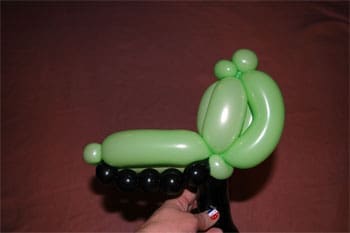
Inflate remaining green 160, Shape and attach to top pinch twists for handlebars.
And here is your finished snowmobile.
With a little extra time, you could even add extra details like a headlight or add a small windshield to the top.